WHY AUDIT YOUR TIRES?
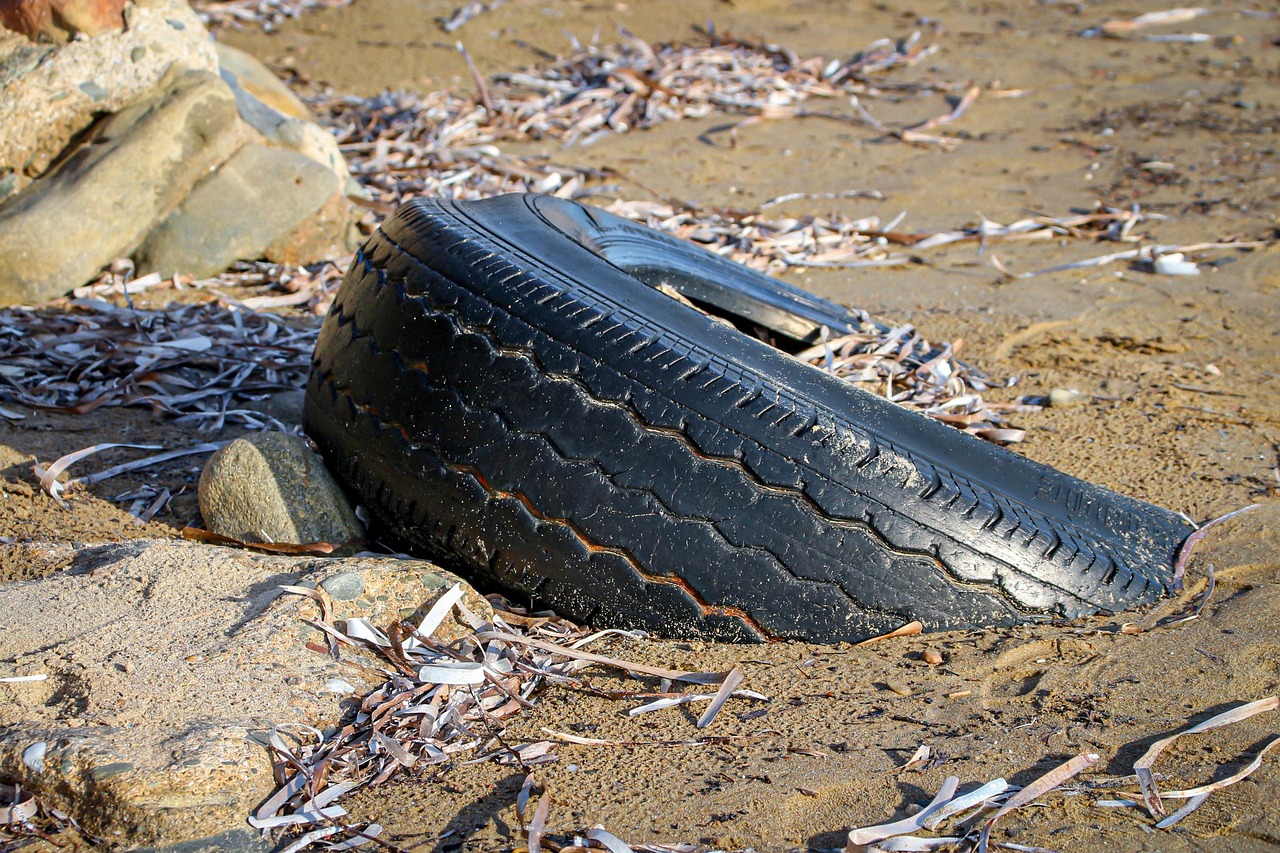
1. Help Reduce Tire Failure Risk: A tire audit can help identify visible damage, low tread, cracking, uneven wear, or other warning signs before they become a bigger safety concerns.
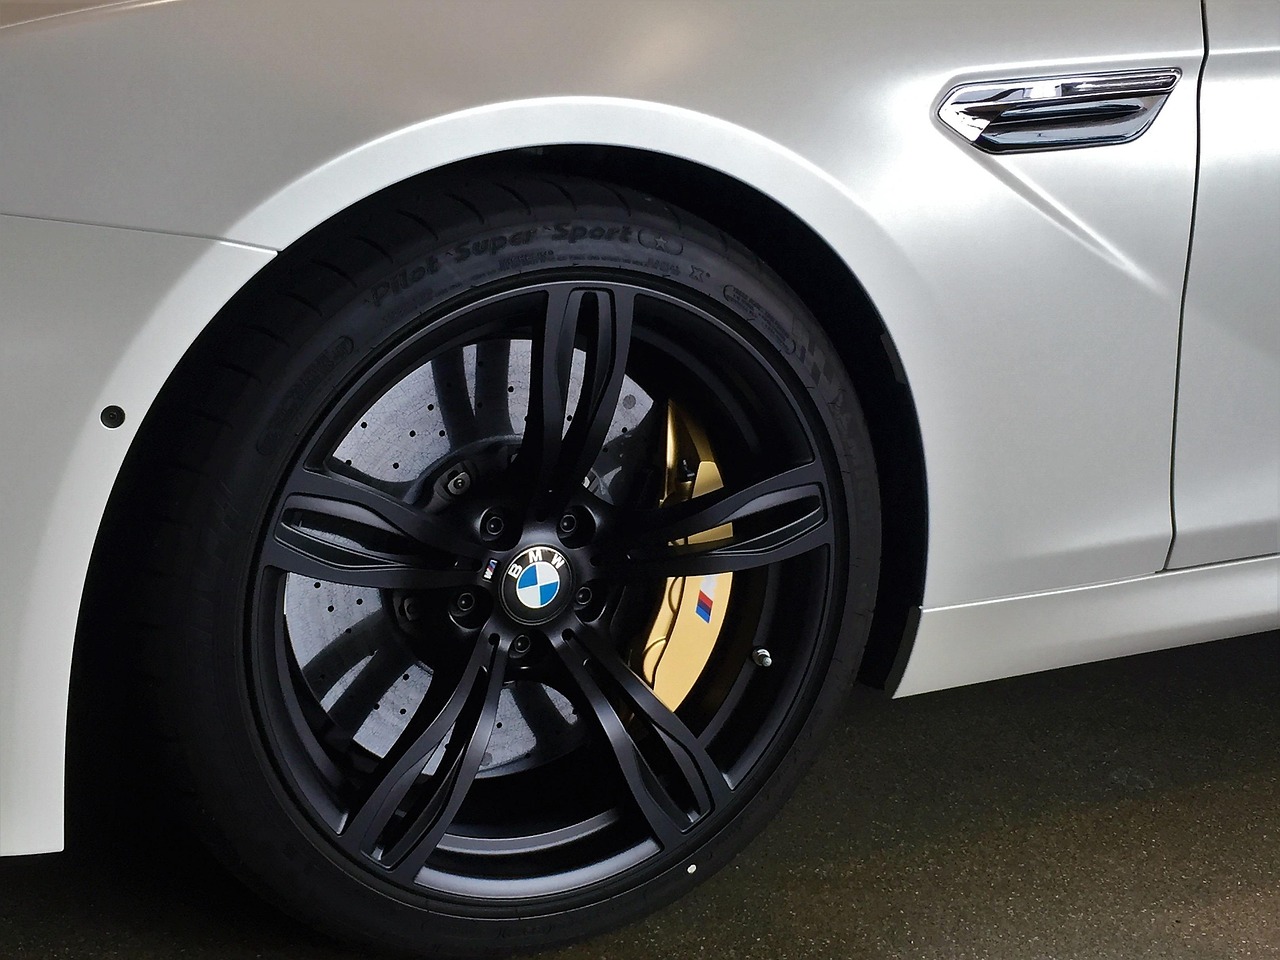
2. Support Safer Braking & Wet-Weather Traction: Tread depth and tire condition can affect how your vehicle grips the road, especially during braking, turning, and wet driving conditions.

3. Help Protect You, Your Family, & Passengers: The goal of a tire audit is simple— to help drivers recognize tire and vehicle safety concerns before they put people at risk.
Who provides tire replacement & maintenance guidance?
Tire safety guidance may come from federal resources such as the National Highway Traffic Safety Administration (NHTSA), part of the U.S. Department of Transportation (DOT), as well as state inspection standards, tire manufacturers, vehicle manufacturers, and professional inspection practices.
SHOULD I REPLACE MY TIRES NOW?
A basic tire audit can help identify visible tire conditions that may require immediate attention. Tire replacement decisions are commonly infomred by tire age, tread depth, visible damage, uneven wear, manufacturer recommendations, federal safety guidance, state inspection standards, and professional inspection practices.
-
1. How old is the tire? Many tire and vehicle manufacturers recommend replacing tires within a specific age range, often between 6 and 10 years, even if the tire appears usable.
-
2. Are there signs of visible damage? Cuts, cracks, bulges, exposed cords, punctures, or sidewall damage may indicate that a tire should be inspected immediately.
-
3. Is the tread depth 2/32 or below? At 2/32 inch or less, a tire is generally considered worn out and should be replaced.
-
4. Is the tread depth 4/32 or below? At 4/32 inch or less, wet-weather traction may be reduced, and replacement may be recommended depending on driving conditions and professional inspection findings.
-
5. Is there uneven inner or outer tire wear? Inner-edge or outer-edge wear can be easy to miss. Uneven wear may indicate alignment, suspension, inflation, or rotation issues and should be profressional inspected.
Can you answer the Tire safety questions?
Many drivers are not sure when tire replacement is recommended or which tire conditions may require professional attention. Audit Your Tires was created to help close that awarness gap by translating tire-safety guidance into a simple consumer self-check.
Use the section below to learn how to visually inspect your tires, recognize common warning signs, and make a more informed decision about when to schedule a professional tire and safety audit or replace your tires.
How Audit Your Tires works
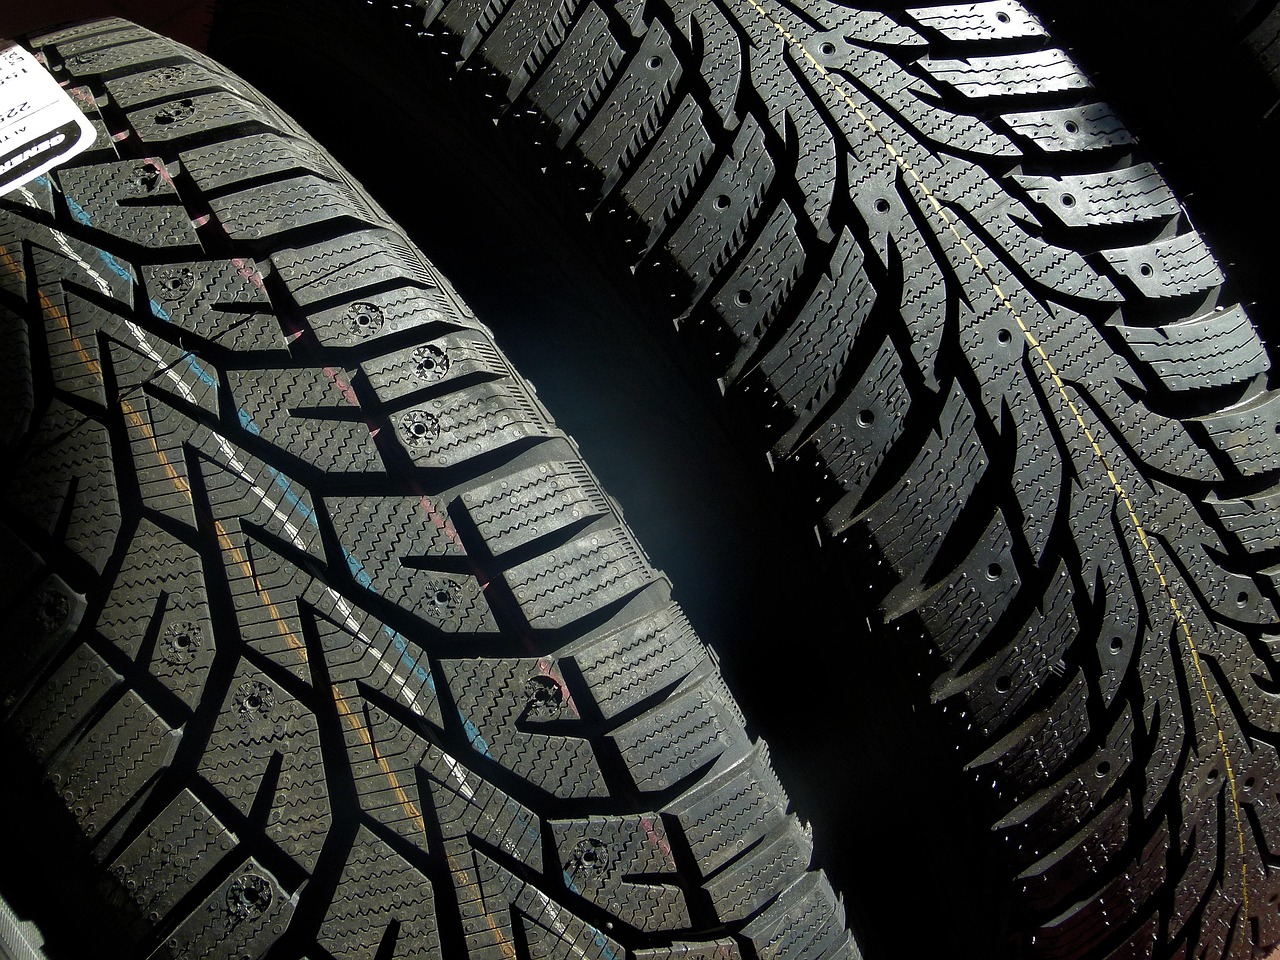
1. Check Tread Depth & Uneven Wear: Use a basic tread-depth check, such as the penny test, and look for inner-edge, outer-edge, or uneven tread wear.
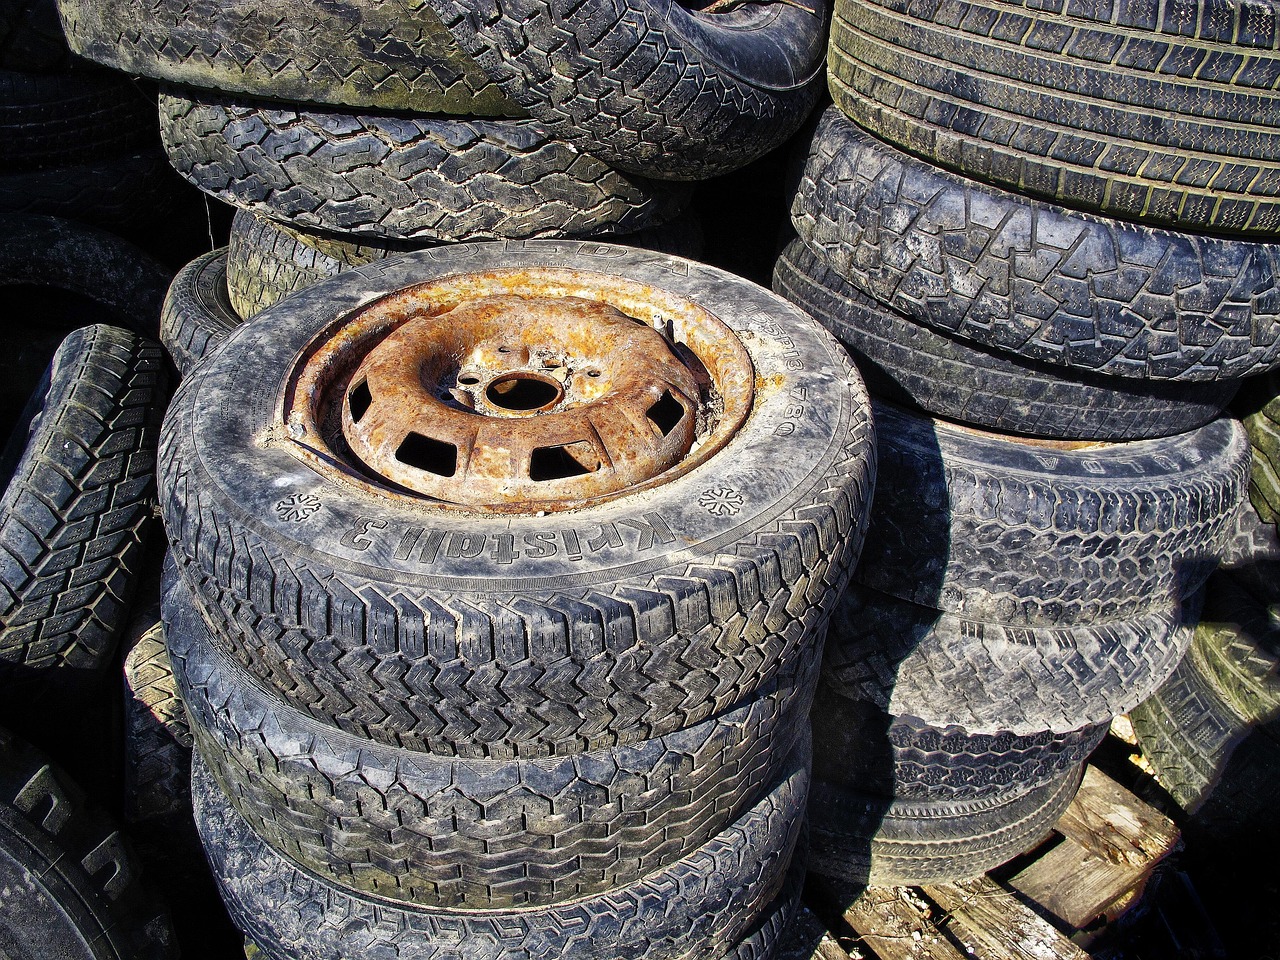
2. Look for Aging, Damage, & Pressure Concerns: Check for visible cracking, cuts, bulges, exposed cords, low pressure, or other signs that may require professional attention.
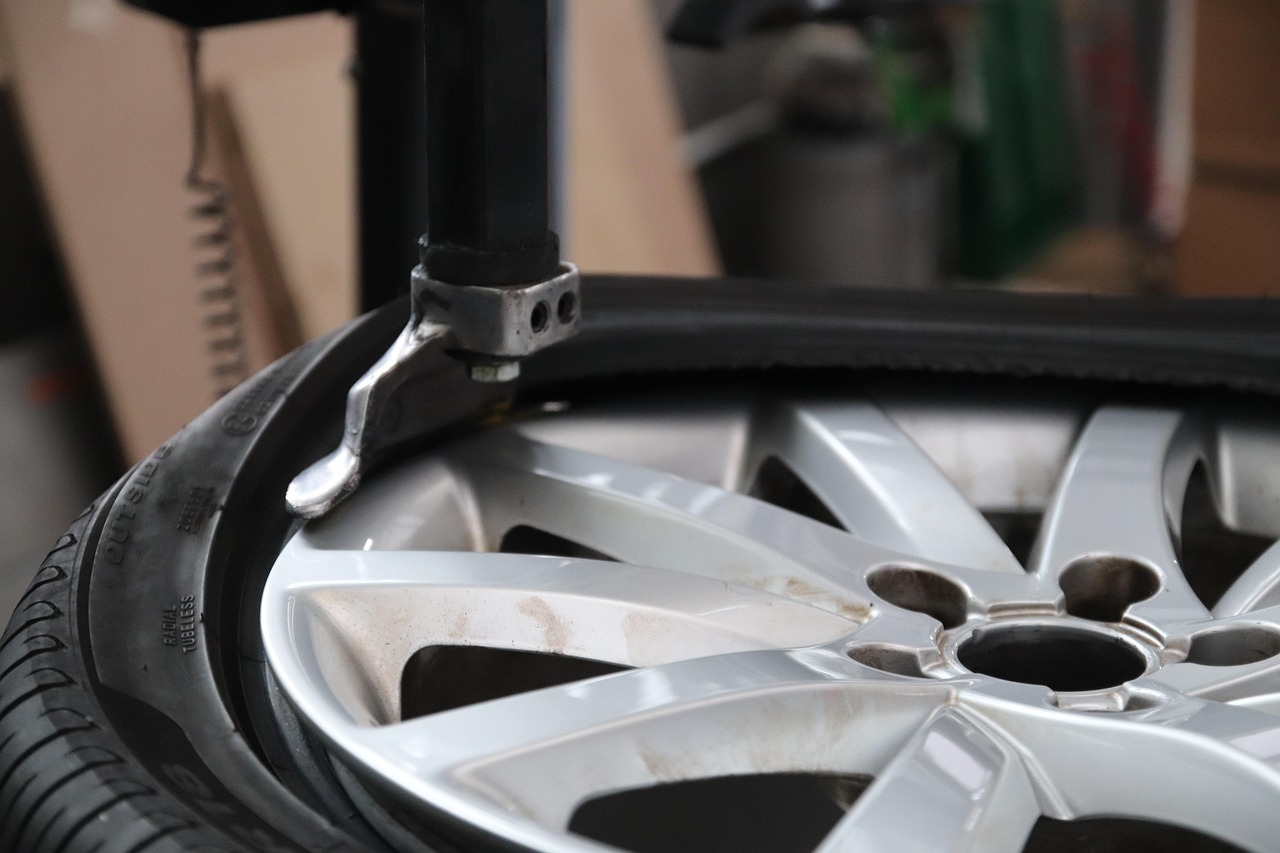
3. Schedule a Professional Tire & vehicle Safety Audit: If you notice a tire concern or are unsure about your tire condition, visit a local tire professional for a more complete safety review.
1. Look for Tread wear bars
Take a look at the tire tread where the tire meets the ground. Inside the tire tread grooves, there may be small "wear bars" sitcking up from inside the tire tread groove. If the tread is flush with the wear bar, the tire may not compliant with NHTSA guidance. A professional tire inspection may be due.
2. do the Penny & Quarter test
The second test is the penny and quarter test to check tread levels in the part of the tire that makes contact with the ground. Take a penny, flip it upside down so the head is facing down, insert the penny into the tire tread. Check on multiple spots on the tire, especially where the tread looks lower. If you are able to see the top of the head of the penny, the tire may not be compliant with NHTSA guidance. If you passed the penny test, next, test with a quarter. If you can see the top of the head above the tread, the tire may not meet industry best practices.
3. Check FOR INNER And outer wear
The first two tests focused on the more center part of the tire. This section focuses on the inner and outer sides part of the tire that meets the ground. Wear here may be greater than that in the first two steps.
The wear bar, penny, and quarter test as described in step 1 & 2 can also be used to test the inner and outer edges of the tire. If you're having diffcuilty testing the inner edge, which can be hidden while the vehicle is on the ground, a professional tire inspection is recommended so the full view of the tire may be inspected.
4. Check FOR DRY ROT
Tiny cuts or cracks can form on the tire tread or sidewall of the tire that may indicate dry rot. This can happen from warm weather climates, such as locations within the Sun Belt area. A tire in this conidition does not meet the standards set by the NHTSA and replacing the tire is recommended.
5. Check DATE OF MANUFACTURING
The date of manufacturing can be found on the tire. This may be found on the outter or inner side wall. If your DOT number is on the inner side wall, having a professional take a look at it is recommended.
Look on the tire for a alphanumeric number that says DOT in front of it. If the date of manufacturing is on the outside side wall, the number will be 4 digits. For example the number could be 1119. The first two numbers indicate the week the tire was made and the last two indicate the year. This example would be a tire manufactured in 2019 on the 11th week
6. Check FOR physical damage
Do you notice any physical damage like a buldge, cuts, or a circular ring or groove around the side wall of the tire?
A buldge could be caused from damage from hitting a curb or pot hole. A ring around the tire side wall could indicate the tire was driven on with low air, causing damage to the tire.
A buldge or circular ring around the side wall of the tire could indicate structural damage to the tire and profesional inspection is recommended as the tire may not be safe to drive on.
7. Check Tire pressure
Low tire pressure can cause tire damage as mentioned in the previous section. Checking the tire pressure in the morning on cold tires is recommended. The proper tire inflation may be found on the vehicle on the inside of the driver door. Usually on the body of the inside of the vehicle or on the driver door. Additionally, the owners manual can provide the proper tire inflation pressure. The tire pressure maximum can also be found on a tire itself, but for many vehicles, maximum pressure is not recomended.